How To Know Your Mead Is Ready To Drink (Easy Guide)

If you drink your homemade mead before it’s ready, you might become sick, or it could be much worse: you might drink gross mead. Since you don’t want to ruin your hard work or waste mead, you should know how to ensure it’s ready.
Your mead is ready to drink when the specific gravity level reflects that the yeast has finished converting sugars. A basic sweet mead is ready to drink as soon as it’s done fermenting, while drier aged meads require sampling to find the right spot.
Making mead isn’t difficult, but there’s plenty of margin for error. Knowing what to do and look for will give you the tools to get it right every time. This article will show you how.
1. Measure Specific Gravity
When you drop a hydrometer into a liquid, it compares the liquid’s density to water’s. Water is set to 1.000, so higher numbers mean denser and lower numbers mean less dense. The metal inside weighs the hydrometer, and the trapped air keeps it buoyant.
Hydrometers are the most common method of determining alcohol content and fermentation completion. Others prefer to use refractometers. I explain the differences and compare them in this article.
Original specific gravity is the measurement taken before fermentation. Water density starts at 1.000. Once the honey is mixed in, the specific gravity goes up because the liquid is now denser.
Final specific gravity measures the density during and after primary fermentation. The yeast converts the sugars into alcohol, less dense than the sugar, so the gravity decreases.
Different mead styles have different original and final gravities. Sweeter meads have more sugar and are, therefore, denser. Drier meads have less sugar and are less dense.
Below are the main mead categories and examples of their original and final gravity readings. These numbers are for reference and are not intended as exact measurements for every instance.
| Mead Style | Original Gravity | Final Gravity |
| Sweet | 1.120 | 1.020 |
| Semi-sweet | 1.110 | 1.010 |
| Dry | 1.110 | 1.000 |
| Extra-dry | 1.070 | 0.996 |
Gravity readings can tell you when the yeast has finished its job, but you may decide that your mead needs to age to allow its flavors to develop.
See my hydrometer buying guide here to help you decide which is best.
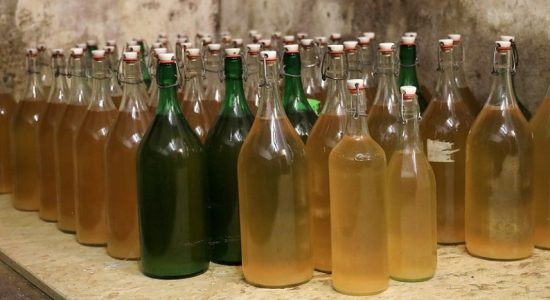
2. Wait for Fermentation To Finish
The minimum primary fermentation time is two weeks for a gallon of mead. The minimum in other cases is four weeks, but it can go up to three months.
Sweet meads can be drunk immediately and may taste fine, but they age well and benefit from bottle conditioning.
Dry meads require aging before they’re drinkable because their recipes call for less honey, which makes the mead less sweet after fermentation. You can take a sip of a young dry mead, but you probably won’t want to take another.
Timing is not precise all across the board. It’s important to know that these things also impact timing:
- Ambient temperature. Keep the mead at steady temperatures in climate-controlled storage, away from light, such as a closet.
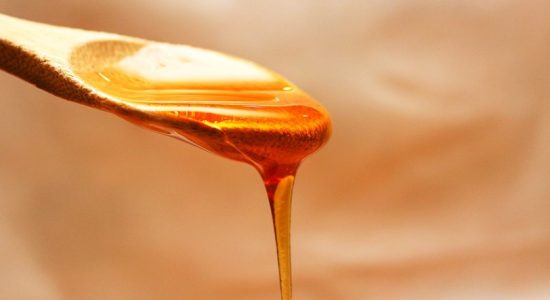
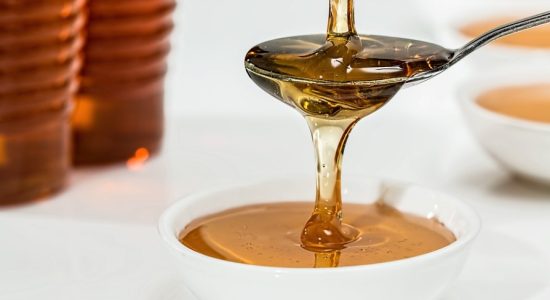
- Amount of honey used. A greater concentration of honey requires more time to ferment.
- Type of honey used. Kinds of honey differ in several ways, including sugar content. Equal amounts of two different kinds of honey won’t result in the same sweetness nor have the exact same fermentation times.
- Style of mead you’re making. Sweeter meads take less time to ferment than dry meads because sweet meads retain more of the honey’s sugar.
- The yeast strain you use. The yeast strain you use will affect wait times because some yeasts convert faster than others.
- Additives you included. Adding anything to the mead for flavoring requires time in the bottle for conditioning, extending its stay. You’ll also need to rack sooner to remove additives since leftover additives hurt the flavor.
- Time the mead aged. This seems obvious but is often overlooked: if you want the mead to develop, you must let it age. Aging in the mead world means several months to more than a year.
Because fermentations can finish at unexpected times or become stuck, you must check the fermentation vessel every few days to ensure everything runs smoothly (bubble-y?).
Once you’ve transferred the new mead to its aging container, you won’t need to check on it as much.
3. Watch Airlock Bubble Activity
During primary fermentation, gasses build up inside the fermentation vessel. If they can’t escape—and enough pressure builds—the vessel explodes. Dangerous? Sure, but more importantly, it’s a waste of mead.
I put together a list of cheap fermentation buckets, which you can read here.
Airlocks allow the gas to escape through a one-way valve while simultaneously preventing outside oxygen from spoiling the fresh alcohol. Oxygen introduced through pouring and stirring at the beginning of fermentation kickstarts the alcohol conversion process.
Observing or listening for bubbling isn’t foolproof because fermentation can still occur without visible signs. However, when combined with sufficient wait times, it can still serve as a good indicator.
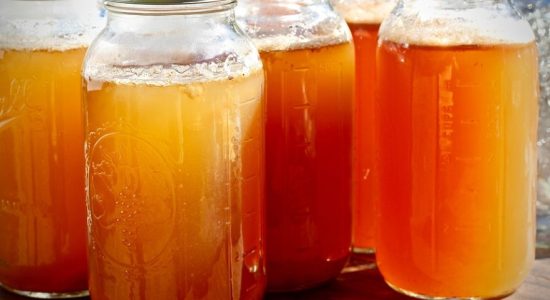
4. Look for Mead Clarity
Once primary fermentation stops, the dead yeast falls, creating a mound on the bottom of the fermentation vessel. To get these out, you’ll need to rack the mead.
Racking is the transfer of mead to a fresh container, leaving the lees (spent yeast and other bits) behind. (For an in-depth look at this part of the process, I put together a guide on How To Make Mead At Home.)
It might take a few racks to completely remove the lees. You don’t want particles floating around because they can alter the taste and bouquet in undesirable ways.
5. Smell and Taste for Readiness
If you’ve waited the requisite amount of time, you can check the bouquet and flavor to tell if it’s ready. This is a more subjective step than the others because what tastes done to you might taste too young to another.
Sometimes a mead will taste ready, and fermentation continues past the point you want, resulting in higher alcohol content and less sweetness. You can use tablets to halt fermentation, but putting the batch in the fridge is easier, cleaner, and cheaper.
For larger batches, I recommend racking three times or until it’s clear of meets your standards. Keep in mind that any leftover lees can impact the flavor profile indefinitely.
Conclusion
Knowing when your mead is ready to drink can be tricky, but following the steps below can help you find the right time for your meads:
- Measuring the specific gravity before and after primary fermentation.
- Waiting long enough for primary fermentation to finish.
- Watching and listening for the bubbling in the airlock to cease.
- Looking for a clear product, with the lees having sunk to the bottom.
- Smelling and tasting to see if it’s ready enough for your standards.