How To Backsweeten Mead and Cider (Step-by-Step)
When mead and cider are being fermented, they tend to lose their sugar, especially if their alcohol content is low. That’s where backsweetening comes in.
Backsweetening helps to increase your mead or cider’s sugar content by preventing fermentation from restarting. Using chemical additives, you stabilize the brew and gradually add sweetener until you achieve your desired taste.
This article walks you through the step-by-step process of halting fermentation, adding sweetener, storing your mead or cider, and picking a sweetener.
1. Make Sure Fermentation Is Complete
Any sugar or sweetener added to an actively fermenting mead or cider will immediately turn into alcohol.
Before adding sweetener, you need to immobilize the yeast to prevent further fermentation. You cannot restart the process after sweetening, so make sure your brew has completed fermentation before backsweetening.
Use a hydrometer to ensure fermentation is complete. Take two readings, waiting 24 hours between measurements.
For the hydrometer, I recommend Brewer’s Elite Hydrometer (available on Amazon.com). It’s quite affordable, and it will accurately calculate your required alcohol by volume (ABV).
The readings should be constant. If the second reading is lower than the first, your mead is still fermenting. If the measurements match, fermentation is complete.
You can also tell if fermentation is complete via a manual inspection. Clear mead is a sign of completed fermentation, while a cloudy brew indicates that lingering yeast particles are still hard at work in your homebrew.
2. Stabilize the Brew
Yeast is fermentation’s best friend and backsweetening’s worst enemy. Since the organism wants to eat any sugar you add, you need to paralyze the yeast before you can add a sweetener.
This process requires two ingredients: potassium metabisulfite and potassium sorbate. Note that neither of these ingredients will kill the yeast. Instead, they’re meant to stop some of the processes the yeast performs to enable fermentation.
Here are the steps to stabilizing your brew:
- Add the potassium metabisulfite first. This compound adds free sulfites to the brew. It also protects your mead or cider from oxygen. Use a quarter teaspoon (1.2 ml) of potassium metabisulfite per five gallons (18.9 liters) of brew.
- Wait 12 hours. You want to give the potassium metabisulfite time to work its magic.
- Add the potassium sorbate. For every gallon (3.79 liters) of mead or cider, pour in half a teaspoon (2.5 ml) of potassium sorbate. This ingredient will prevent the yeast from turning any remaining sugar into alcohol and carbon dioxide.
- Wait another 48 hours. This will help the mead settle.
It’s important that you follow the above steps in order — particularly the addition of potassium metabisulfite first. If you add the sorbate first, it creates an unpleasant flavor that will ruin your brew.
3. Sweeten Your Mead or Cider
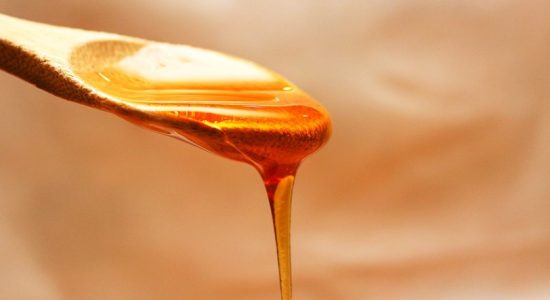
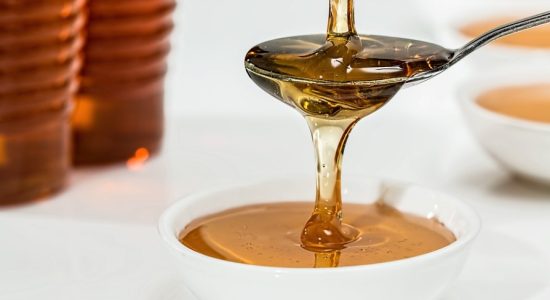
At this point, you can add whatever sweetener you prefer. In the case of mead, for example, honey is usually a good sweetener.
Backsweeten your drink gradually, stirring the entire time and tasting it now and then to ensure you achieve your desired sweetness. Remember: You can add more sugar, but you can’t remove any once it’s in the brew.
Speaking of sugar, I have a video on maltose you can watch below on YouTube:
I suggest backsweetening small batches first. You can, for example, take a cup of mead and mix in teaspoons of sugar or honey, tasting as you go.
Note how many teaspoons of sweetener it took you to achieve your desired sweetness, and take note of that for your next batches.
How To Carbonate Backsweetened Meads or Ciders
Carbonation makes backsweetening a little more complicated. Normally, you prime sugars to create the carbon dioxide responsible for the delicious little bubbles in your brew.
However, stabilizing the brew against fermentation also stabilizes it against carbonation. If you don’t stabilize, you’ll risk excessive gas production and exploding bottles.
Using a pressurized keg is the easiest way to carbonate back-sweetened meads or ciders.
If you intend to bottle and carbonate your brew, pasteurization may help. Here are the steps to do so:
- Ensure the bottles reach the proper carbonation level.
- Heat a large pot of water to 190 degrees Fahrenheit (88 degrees Celsius).
- Remove the pan from the burner.
- Put your bottles in hot water and leave them there for ten minutes.
The process can be time-consuming, depending on how large your pot is and how many bottles you have to pasteurize. But it does allow you to carbonate without worrying about accidentally creating a mead bomb.
Why Backsweeten Mead and Cider?
Fermentation dries out meads and ciders. Most fruits used to create alcoholic beverages are sweet, and since fermentation eats sugar, it leaves behind a bland flavor.
If you add honey to your meads and ciders without backsweetening it first, the yeast will continue eating the sweetener — wasting your valuable time and resources.
Also, if you don’t sweeten meads and ciders, they’ll have a strong, acidic taste. By backsweetening, you won’t have to worry about a high alcohol ratio ruining the flavor.
What Should I Use to Backsweeten my Mead or Cider?
Many brewers achieve the signature mead taste by using honey. However, other sweetening options are available, including:
- Jaggery: Jaggery is a pedigreed sweetener made from palm tree sap. 18th-century English brewers used this sugar to add nutty, fruity components to mead or cider.
- Molasses: Molasses adds a warm and pleasant sweetness to a brew. However, it also has a stronger flavor than sugar or honey, so use it judiciously.
How To Store Backsweetened Meads or Ciders
As I’ve mentioned earlier, backsweetened brews are best stored in kegs if you want carbonation.
But if you’re keeping your mead or cider flat, you can simply store the brew in a dry, cool place away from direct sunlight.
Opened bottles last up to three months, either refrigerated or at room temperature, while unopened bottles are good for up to two years.
Conclusion
Backsweetening allows you to achieve your ideal mead or cider flavor without over-fermenting the brew. The process is relatively simple, but it does require lots of time and patience.
Follow the step-by-step guide above to create perfectly sweetened meads and ciders like a professional.


