Can I Use Mason Jars for Mead Home Brewing?
Mead brewing is fun and easy, but it’s a shame when you throw some out because you can’t drink all of it. It’s sometimes better to produce mead in small amounts, and smaller glass containers are more suitable in that case.
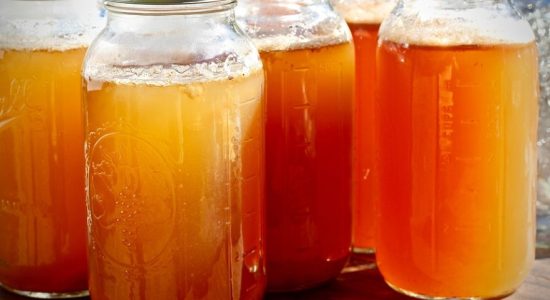
You can use Mason jars to brew mead if you buy fermenter lids. All you need to do is preheat the jar to prepare it for the heat of the honey-water mixture. If you don’t do this, you risk glass cracking. Mixing ingredients as they separate during fermentation by shaking the jar is easier.
This article discusses the mead brewing process, the tools used, and how to implement Mason jars.
How To Use Mason Jars for Mead Brewing
As a beginner homebrewer, Mead brewing is probably the easiest alcohol to start with. The ingredients are limited, and the process is simple.
You can find a step-by-step guide for mead brewing on our website. You should try it, as it’s a very rewarding process.
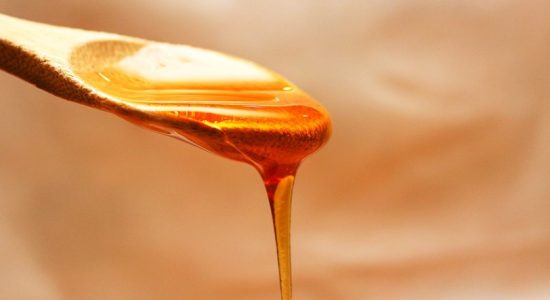
Mead, or ‘honey wine’, is basically water, honey, and yeast, with the option to add some flavoring to the mix.
All it takes to make mead is patience during fermentation. Even though mead brewing is the easiest, it’s certainly not the fastest to produce. The fermentation takes several weeks.
You’re probably wondering which tools are used in mead brewing and if Mason jars can also be used. So, let’s look into that.
Mead Brewing Tools
Mead brewing requires minimal tools, unlike the equipment needed to brew beer.
Mead brewing is often done with a glass container because the mixture that goes into the container is hot, and glass is usually very heat-resistant. However, many glass containers cannot handle sudden heat and break.
A glass container, like a Mason jar, makes it easier to shake the mixture when the ingredients separate during fermentation.
Mason jars are made to resist pressure, so they’re less likely to succumb to homebrew fermentation explosions.
Additionally, Mason jars are perfect for smaller amounts of mead. You don’t need to use a fermenter bucket if you only plan on making a couple of glasses of mead.
All you need to invest in is a fermenter lid. Airlocks are necessary for fermentation to avoid oxidation while allowing gasses to escape the glass container.
You can find these lids on Amazon.com, like the Jillmo Stainless Steel Fermentation Lids (available on Amazon.com). The lids are airtight and come in a pack of four. Just make sure you’re buying a lid that is fitted for your Mason jar because they come in different sizes.
For larger quantities, it might be better to opt for a carboy or fermenter bucket.
Mead Brewing Process
The most significant part of the mead brewing process is waiting for the fermentation to do its thing and create a beautiful beverage.
All that’s required from the brewer are the following:
- Heat purified water in a pot on the stove on low to medium heat.
- Add honey to the water when it’s warm (not boiling!).
- Allow the honey to dissolve. Stir with sterilized kitchen utensils.
- Add any additional ingredients.
- Pour the mixture into a glass jar.
- Add wine or mead yeast and stir with sterilized kitchen tools.
- Store the mixture at room temperature and in the dark because sunlight will affect the yeast.
This is the usual process for mead brewing, but there are slight differences between recipes. Moisture in honey allows the wine yeast to grow and turn the sugars into alcohol.
Occasionally something can go wrong during brewing, namely stuck fermentation. This halts the entire process and can mess up your alcohol. There are ways to tell if your fermentation is stuck, and methods of dealing with it.
There’s an additional step for those who want to use a Mason jar for the mead; preheating (and sterilization).
How To Preheat a Mason Jar for Mead Brewing
Preheating is advised if you plan to pour a hot mixture into a glass jar. Extreme temperature differences are often the cause of glass cracking.
This is also frequently done before canning homemade sauces and jams to reduce the risk of broken glass containers.
Preheating Mason jars can be done in different ways. The most popular method is boiling the jars gradually, which is also the most favored method for sterilizing glass jars.
The process is easy and doesn’t take much time.
Sterilizing Glass Jars
Glass jars should always be sterilized before you put food in them. This is even more important when it’s part of fermentation.
The inside of the container should be free of any bacteria that can affect the process.
Sterilizing glass jars and lids is often done by boiling them, which is perfect if your jars have to be preheated. You’d be killing two birds with one stone without much effort.
Here’s how you sterilize glass containers:
- Gently put your Mason jar in a big cooking pot. Ensure the pot is big enough for the containers to submerge in water completely.
- Fill the pot with water, completely submerging the container(s).
- Put your pot on the stove and turn on the heat.
- Set a timer for 10 to 12 minutes as soon as the water starts boiling.
- Dry your glass containers with a fresh kitchen towel.
Here are some things to keep in mind when sterilizing your Mason jar in boiling water:
- Don’t put the jars in a pot with water that’s already boiling. They can burst because of the sudden temperature difference.
- Don’t let the containers and lids dry on their own. They’d have cooled down by the time they are dry, allowing bacteria to find their way back into the container.
- Don’t dry the containers with anything that might carry bacteria because that would defeat the sterilization process.
- Don’t touch the inside of the container with your bare hands after sterilization. Your hands carry a lot of bacteria, and not all of them are removed when you wash them.
Final Thoughts
Mason jars are perfect for mead brewing in small amounts under two conditions; You have to preheat the jar and purchase a fermenter lid for everything to go smoothly.
Preheating prevents cracked glass jars, and a fermenter lid is needed to release gas and avoid oxidation simultaneously.


