How To Bottle Beer at Home (Step-by-Step Guide)
There’s a feeling that comes with cracking open a cold bottle of homemade beer that’s hard to replicate. However, proper bottling is far more than just pouring your beer into a suitable container. Bottling can significantly affect the taste and feel of the beer, so it’s important to do it the right way.
To bottle beer at home, prepare the proper equipment and confirm that fermentation is complete before putting your beer into tightly sealed bottles away from sunlight. It’s also vital to keep the entire process sanitary, as germs introduced during this stage can change the taste of your beer.
Once fermentation is done, you can store your beer in a bottle or keg. This article will explicitly cover bottling and everything you need to know about preparation and proper storage.
1. Prepare Ingredients and Equipment for Beer Bottling
The first step in your bottling process should be to procure all the necessary ingredients and equipment. You should also ensure they’re all sanitized. Cleanliness is always important, and even more so when handling beer.
Not only does it protect you from germs, but it also ensures that you do not end up with foul-tasting beer.
What Do You Need for Beer Bottling?
Here are some necessities for beer bottling:
- Bottles. After brewing, beer has to be stored and conditioned in a container, such as a keg or a bottle. Using bottles may be harder than kegging, but bottled beer is easier to store and consume.
- Caps. You must cap bottles properly to prevent oxygen and microbes from mixing with the beer.
- Capper. This isn’t always vital, especially if you opt for PET bottles. However, a capper and metal caps typically ensure a much tighter seal. Still, this is up to preference, availability, and ability. PET bottles are typically easier to use but come with an increased risk of oxidation, while metal bottles take the opposite benefit and downside.
- Transfer tubing. You’ll need this to transfer your beer.
- Bottling bucket. Fermented beer is typically transferred to bottling buckets. Here, the priming sugar is added before the beer is distributed to the bottles. If you don’t have this, you might be able to get by with transferring directly to the bottles.
- Priming sugar. This is added after fermentation to aid beer carbonation and add flavor and aroma.
- Auto siphon. Helps transfer your fermented brew into the bottling bucket.
- Hydrometer. This is used to measure specific gravity. You’ll need it to determine if fermentation is complete before bottling.
Some beer kits may already include the equipment you need for bottling. I’ve covered some of the best beer kits before, so if you need a few pointers, this article should be your next stop.
How To Choose Beer Bottles
Your beer bottles will hold and protect your beer until it is ready to drink. So, you should take some care when making a choice.
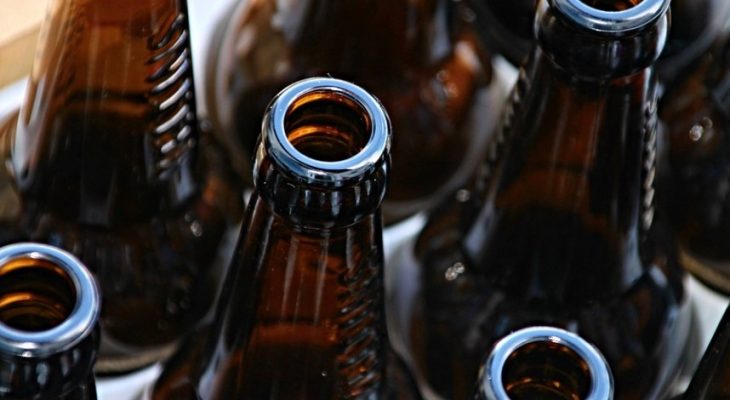
First, the bottles should be brown or dark colored. This choice is far more important than aesthetics, as ultraviolet (UV) light can easily ruin your beer. UV rays react with the hops in your beer to create a compound with quite a nasty smell.
As a result, not only are dark-colored or opaque containers necessary, but it’s also vital to keep bottled beer in dark rooms.
The bottle must also withstand the pressure from the carbonating beer. Thin or poor-quality bottles could crack or explode once the pressure builds from carbonation.
There are different types of bottles based on shape and caps. Check the table below for a brief description of each type.
| Bottle Type | Description |
| Nip/Grenade Bottle | Small (7 oz./207 ml) |
| Long Neck | Standard bottle in the US (12 oz./354.9 ml) |
| Stubby/Steinie | Similar to a long neck (12 oz./354.9 ml) Smaller neck but wider body than a long neck |
| Belgian Bottle | Standard bottle in Europe (11.2 to 12.7 oz/331.2 to 375.6 ml) Similar in form to a long neck except for the body-to-neck connection |
| British Bottle | Standard bottle in Britain (11.2 to 16.9 oz/331.2 to 499.8 ml)) Large and thick, although the neck is slightly thinner |
| Swing Top Bottle | Reusable caps Capacity is 12 oz to 16 oz (354.9 to 473.2 ml) |
| PET Bottles | Made of plastic (Risky as it may allow oxygen to pass. Plastic may also leech into the beer over time). |
| Oxygen Barrier PET Bottles | Made of plastic (Risk of oxygen entry is reduced by the barrier) |
To learn more about beer bottle types and my recommendations, check out “The Best Bottles For Homebrewing.”
2. Check For Complete Fermentation
Once you have your necessities ready, do not bottle your beer immediately. It is crucial that you first check if beer fermentation is done. When the airlock no longer bubbles, the beer should be done fermenting.
Next, use a hydrometer and note the specific gravity values every few days. If three consecutive hydrometer reading values are relatively consistent, you’ll know it’s time to bottle the beer.
3. Bottle the Beer
You can bottle your beers in two ways:
- Transfer the fermented beer into a bottling bucket, then add the priming sugar.
- Directly transfer the fermented beer into the bottles and add priming sugar to each one.
What Is Priming Sugar?
Priming sugar is necessary for carbonating and re-fermenting your beer. However, it must be added in the right amounts to get the fizz, aroma, and flavor you’d like. You can use any sugar, but each type imparts a unique flavor and aroma.
Take a detour here for a lot more about priming sugars.
If you prefer videos, I have a great one for you:
Capping Beer Bottles
Once you’ve added priming sugar to your bottled beer, you must cap the bottles immediately. There are different types of caps, but you’re probably most familiar with the metal ones.
If you’re using metal beer caps, you will need a capper. However, you won’t need one if you opt for reusable lids, like those in swing or screw-top bottles.
Whether you do it manually or with a capper, ensure every bottle is tightly and properly capped. The caps must also be unused and of the correct size.
4. Store the Beer
Once your beer has been bottled and capped, you must store it for a while before drinking. This is essential as the beer needs at least a couple of weeks to work on the priming sugar completely.
The storage area must be cool and dry, as exposure to direct sunlight or heat can spoil the beer or cause it to explode.
This video covers some more beer storage tips:
Final Thoughts
Although beer bottling is straightforward, every aspect must be done correctly to avoid spoilt beer and potential accidents. Choosing suitable bottles, cleaning equipment, bottling at the right time, and storing in a dark and dry area are all essential.
The beer brewing process can be difficult, especially if you’re new to it, but with a little research and some elbow grease, you’ll have some great-tasting beer in no time.


